Making a terrarium can seem complicated at first, but this blog will guide you through the process step by step.

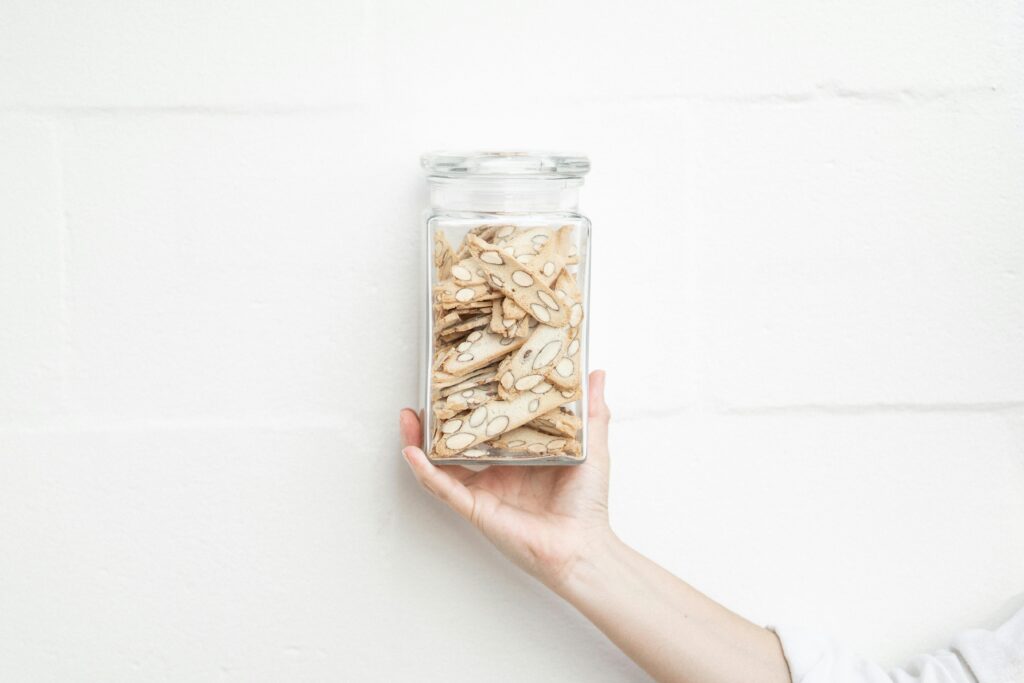
For today’s build, I’m going to be using a glass cookie jar. It has a lid with a rubber gasket, providing a tight seal. Now let’s move on to making the drainage layer. To make this layer, you have many options. Today, I’m using “Leaker” stones, known for their porous nature and lightweight. After placing a generous amount and leveling it, the drainage layer is complete. It only needs to be about two to three centimeters deep for a terrarium this size.
For the substrate barrier, I’m using window screen mesh to prevent the substrate from falling through. It’s cut to size easily with scissors and provides a good flow of water while holding back the substrate.
Now let’s move on to creating the substrate mix. These are the materials you’ll need, and I’ll explain the ratio as I make the mix. You’ll also need a tub to mix everything up and a tub to measure the parts.

The drainage layer only needs to be about two to three centimeters deep. If I were to add the substrate now, it would fall through the gaps in the drainage layer. A simple solution is using window screen mesh to create a substrate barrier. It prevents the substrate from falling through and can easily be cut to size with scissors. While there are other materials like weed blocker fabric, window screen mesh works best as it holds back most of the substrate while allowing good water flow. With the drainage layer and substrate barrier in place, let’s move on to creating the substrate mix. I’ll use my usual mix that I’ve used successfully for over 2000 terrariums. Here are the materials you’ll need, and I’ll explain the ratio as I make the mix. You’ll also need tubs to mix everything up and measure the parts. Let’s get started.
I’ll begin by rehydrating the cocoa fiber brick in water, which expands a lot. Once fully hydrated, I measure out one part of the cocoa fiber. Similarly, I measure out two parts of sphagnum moss, which I trim into small pieces. Then, I add a quarter part each of the orchid bark, charcoal, and worm castings before mixing everything together. These ratios create the perfect terrarium substrate, combining moisture retention, resistance to compression, nutrients for plants, and good drainage. If you make many terrariums like me, consider making a large batch. Now, it’s time to add the substrate to the terrarium. After pouring in a generous amount, I gently pat it down into place, creating a slope towards the back for depth. The substrate barrier effectively prevents the substrate from reaching the drainage layer.
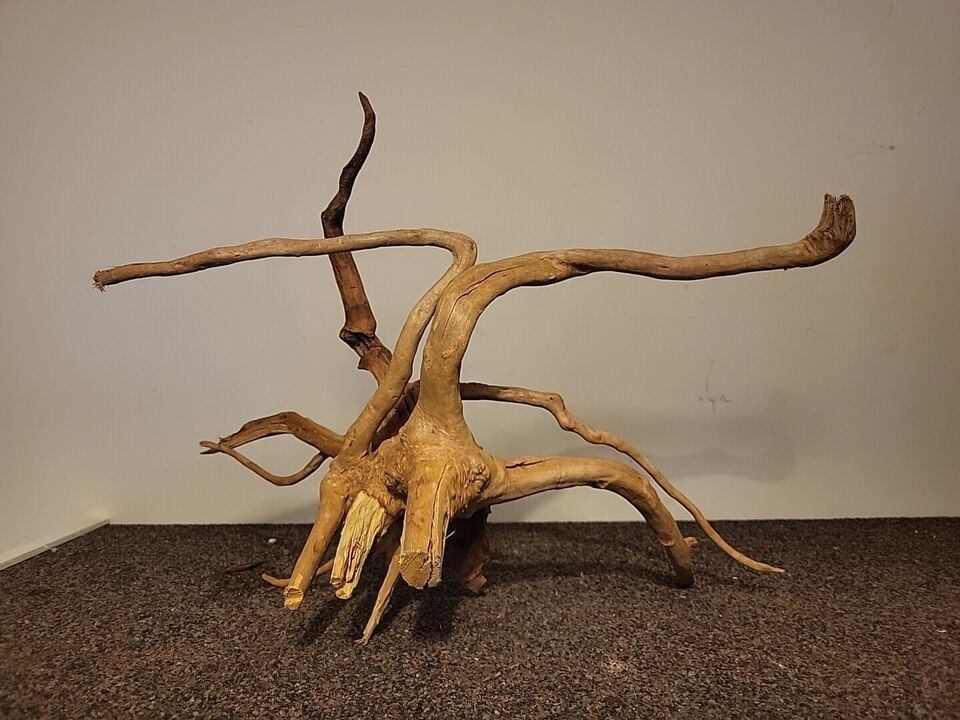
Granite pebbles add nice textures, and slate stone is a cheap yet effective option with horizontal textures. Spiderwood comes in a variety of styles and can transform the hardscape. Driftwood also works well alone or combined with rocks. Corkbark is budget-friendly and looks great in terrariums. For today’s build, I’ll use spiderwood with slate stone for a nice contrast.

Experimenting with layouts, I settled on a simple design with three pieces of slate stone and one piece of spiderwood. Now, let’s talk about moss. Three great options for terrariums are fern moss, cushion moss, and mood moss. I’ll use cushion moss for today’s build.
After preparing the moss, I gently tear it into smaller chunks and plant it using long tweezers. Pressing it onto the substrate helps with moisture absorption.
I have a variety of species here, some pulled from other terrariums. Fetonia is popular for its different colors and leaf shapes. Peperomia has beautiful dark red leaves when mature. Hydrocotyl, an aquatic plant, also thrives in terrariums.
Starting with cuttings from the white Fetonia, I propagate them by planting the stem up to the first set of leaves. Next, I plant the largest Peperomia towards the back using tweezers to make a hole in the moss and substrate. The Fetonia cutting goes behind the spiderwood, and the tiny Peperomia is planted on the right side. The red Fetonia adds a pop of color in the center.
I also add cuttings of hydroxyl around for texture. Springtails, found in reptile and amphibian shops or online, help maintain the terrarium’s ecosystem by eating mold and providing fertilizer.
For watering, a light spray with a misting bottle is sufficient, avoiding overwatering. As for lighting, a display LED light or indirect sunlight for 12 hours a day is ideal. Opening the terrarium every one to two weeks helps with air circulation.
Remember, creating a terrarium is not just about crafting a decorative piece; it’s about nurturing a living ecosystem. With proper care and attention to detail, your terrarium will continue to evolve and grow, bringing a piece of the natural world into your home.
So, whether you’re a seasoned terrarium enthusiast or embarking on your first botanical adventure, take pride in your creation and marvel at the tiny world you’ve brought to life. Happy terrarium making!